

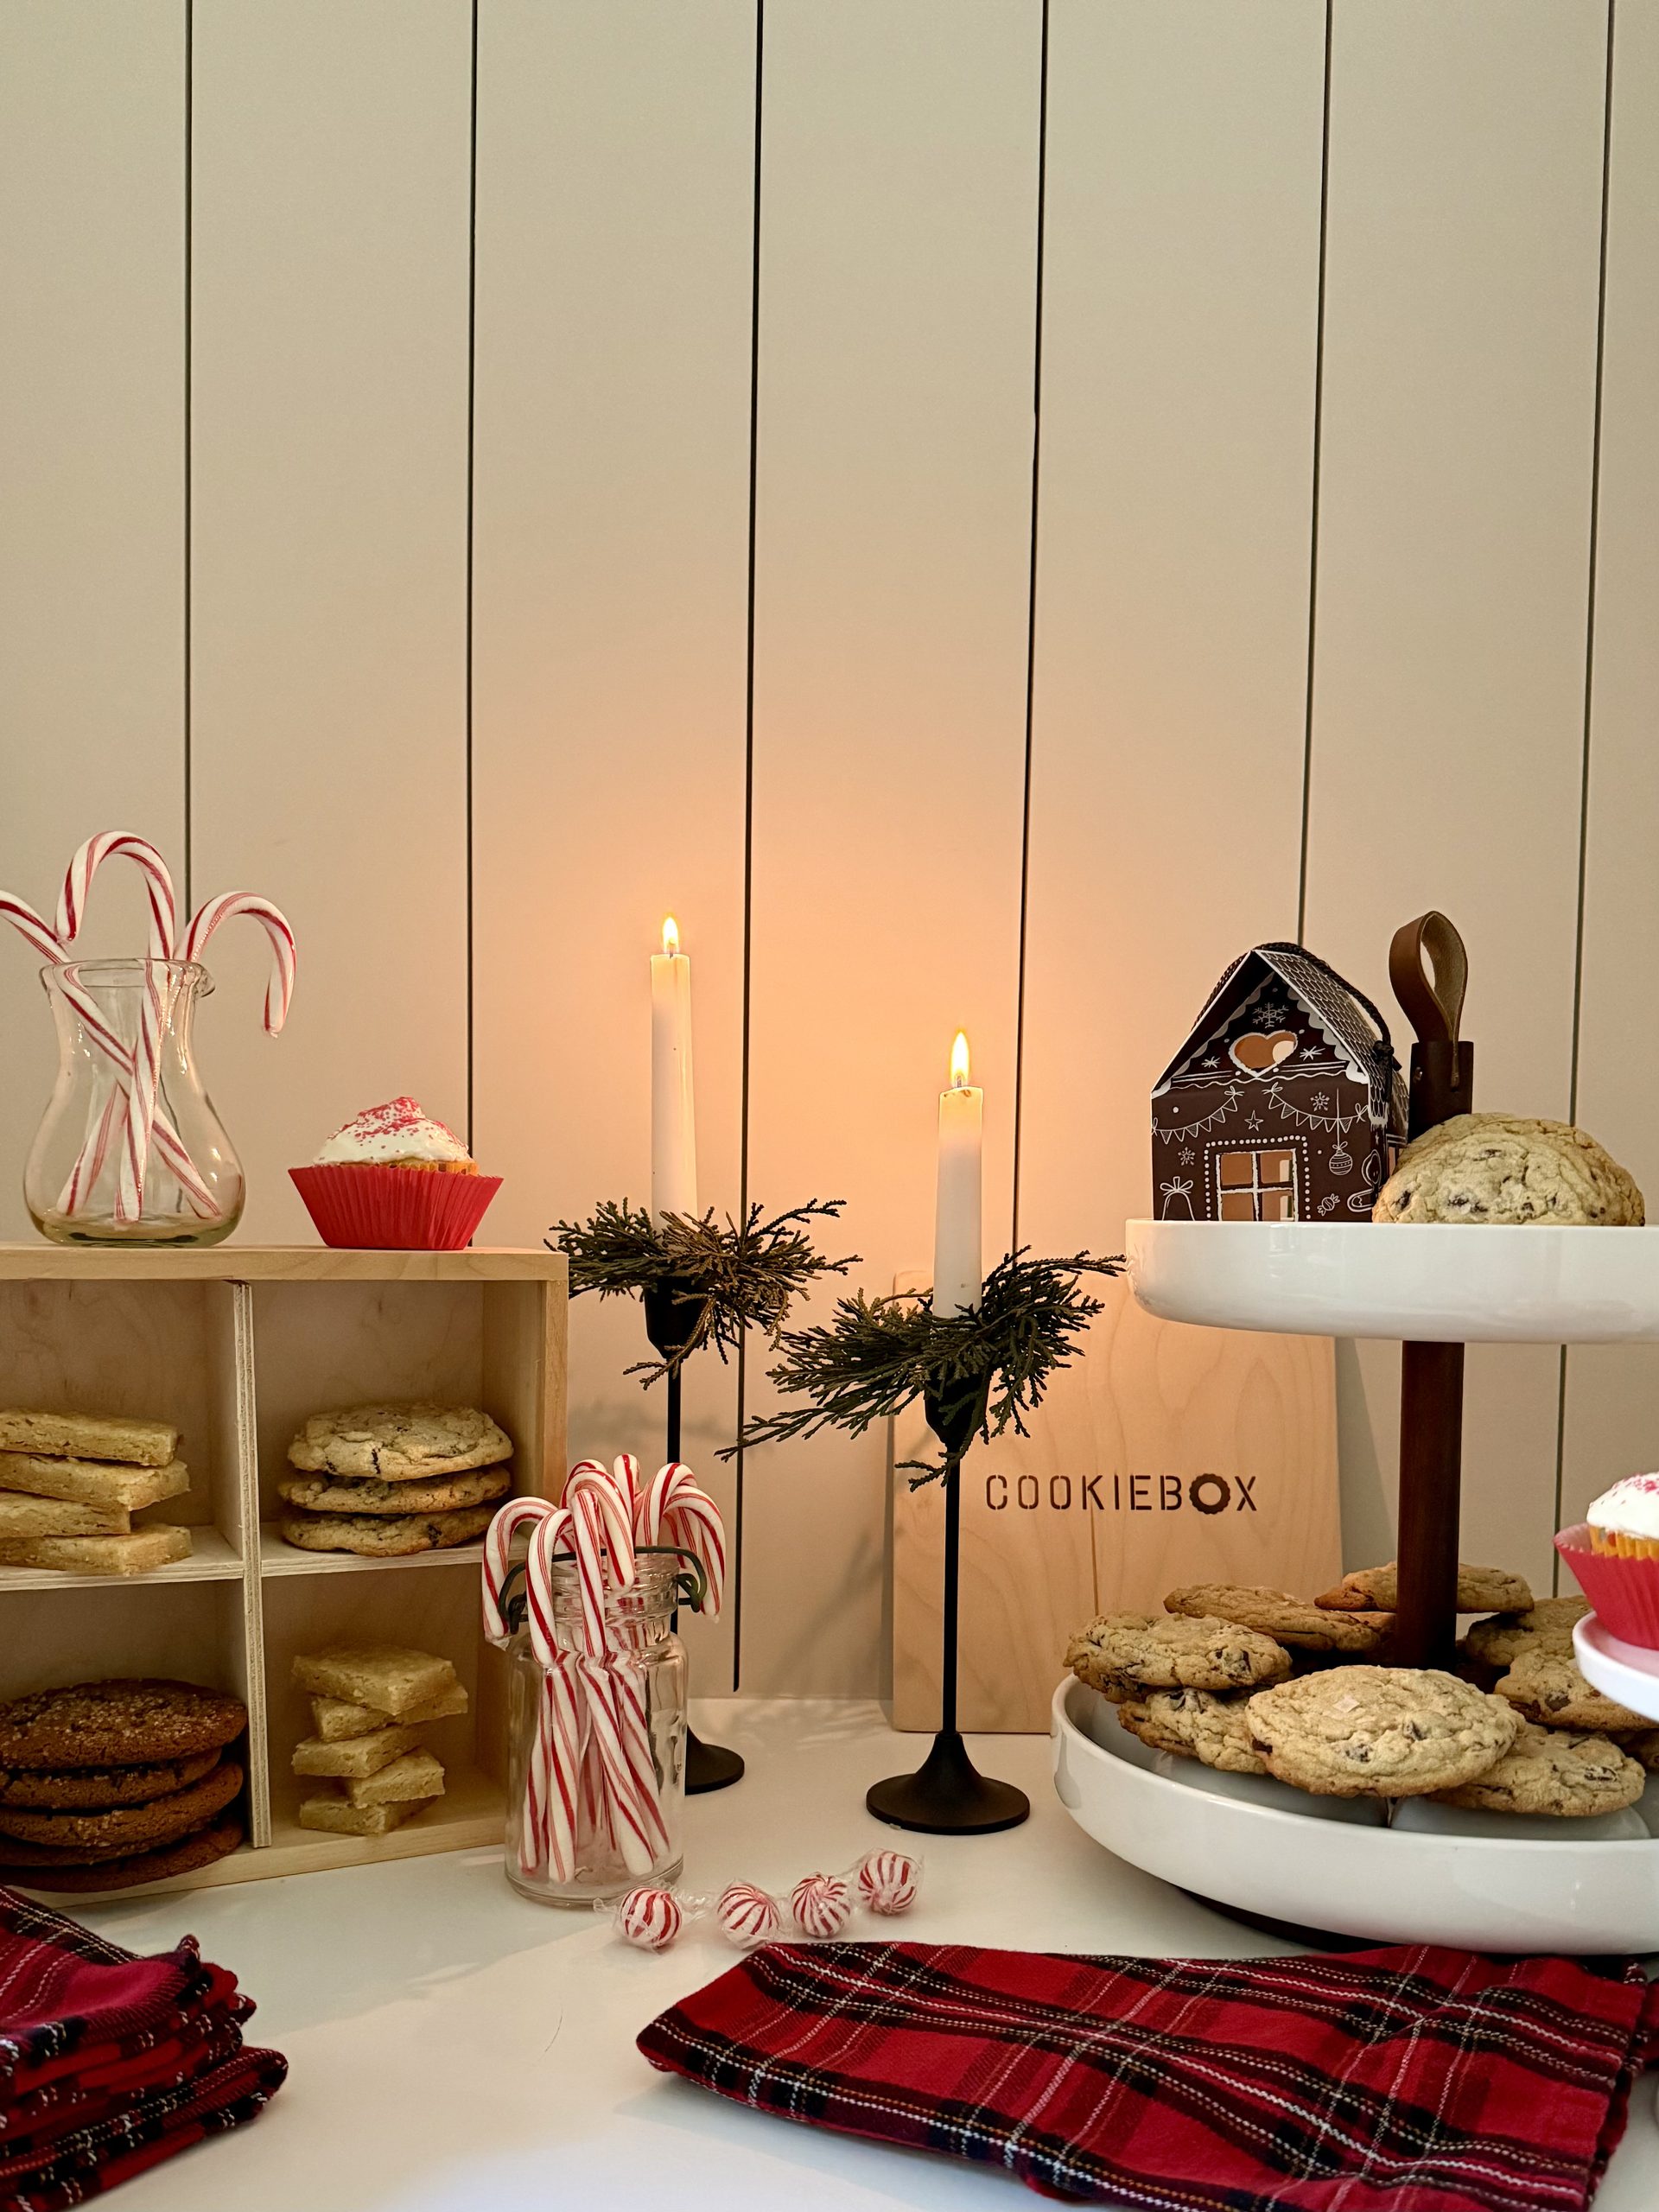
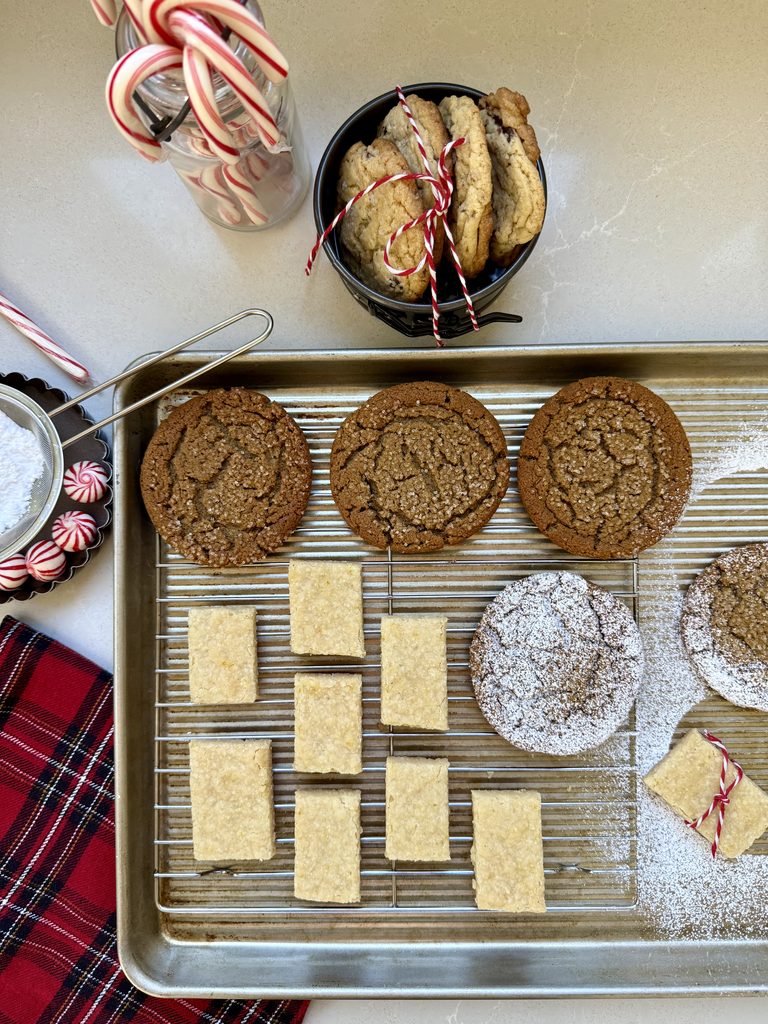
A cookie exchange is one of the simplest holiday gatherings to host: each guest bakes one cookie and leaves with a box full of them. Here’s how I got ready for this year’s swap, from the invitation to the table, with links to every piece at the end.
Step 1: Plan the Swap Before You Bake
A good invitation answers what guests are wondering: how many cookies to bring, how to package them, whether to share the recipe, and any allergens. I used my Christmas Cookie Exchange Invitation + Thank You Card set.
How many cookies should each guest bring?
The simplest rule is half a dozen cookies per guest, plus one extra dozen for tasting at the party. Here is how that adds up:
| Guests | Cookies each person bakes | In dozens |
|---|---|---|
| 6 | 48 | 4 dozen |
| 8 | 60 | 5 dozen |
| 10 | 72 | 6 dozen |
| 12 | 84 | 7 dozen |
My getting-ready timeline
- Four weeks out: Send invitations.
- Three weeks out: Collect RSVPs and cookie choices to avoid duplicates.
- Two weeks out: Bake and freeze sturdy cookies.
- Two days out: Bake anything delicate and set up the display.
Step 2: Bake Cookies That Travel
The best exchange cookies stack, pack, and survive a car ride. I baked salted chocolate chip, sugar-crusted molasses, shortbread squares, and embossed sugar cookie stars. Skip meringues and anything cream-filled or soft-frosted, and pack crisp and soft cookies separately so the crisp ones stay crisp.
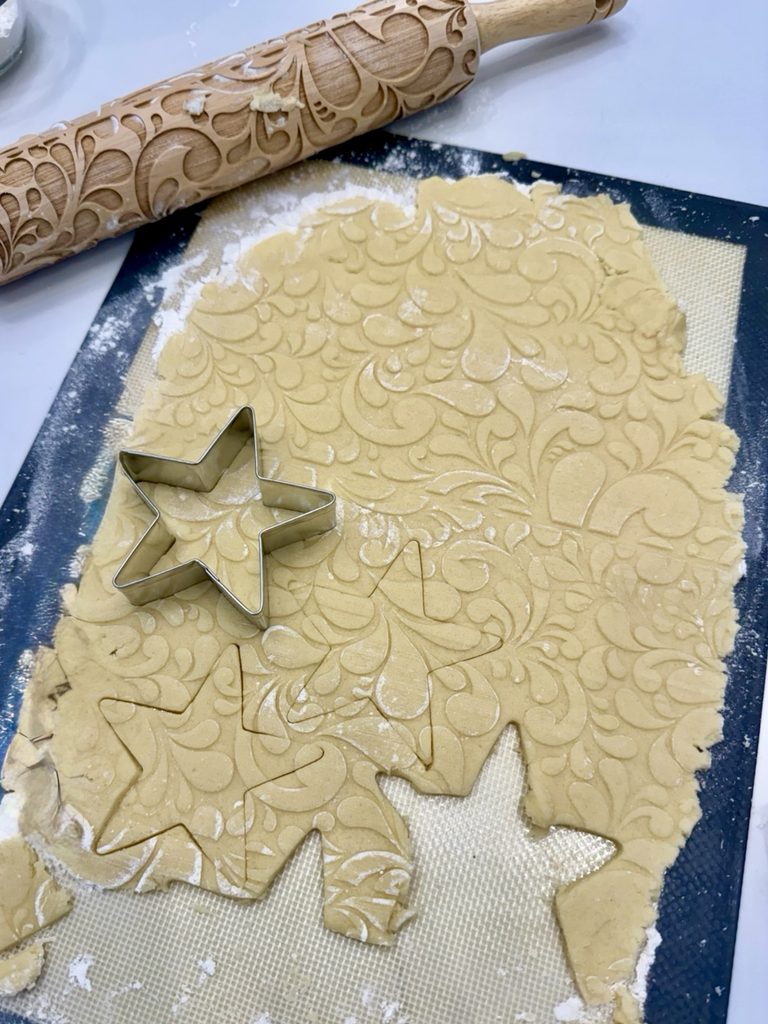
How to use an embossed rolling pin
- Use a low-spread dough, like shortbread or a sugar cookie with little or no baking powder.
- Roll flat first to about 1/4 inch, then flour the embossed pin and roll once with firm, even pressure.
- Cut, then chill 15 to 20 minutes so the edges stay crisp.
- Bake pale on a silicone mat. Browning hides the detail.
Bake ahead: most cookies freeze well for up to three months. Thaw them still wrapped so condensation stays off the cookies.
Step 3: Package Cookies Like a Gift
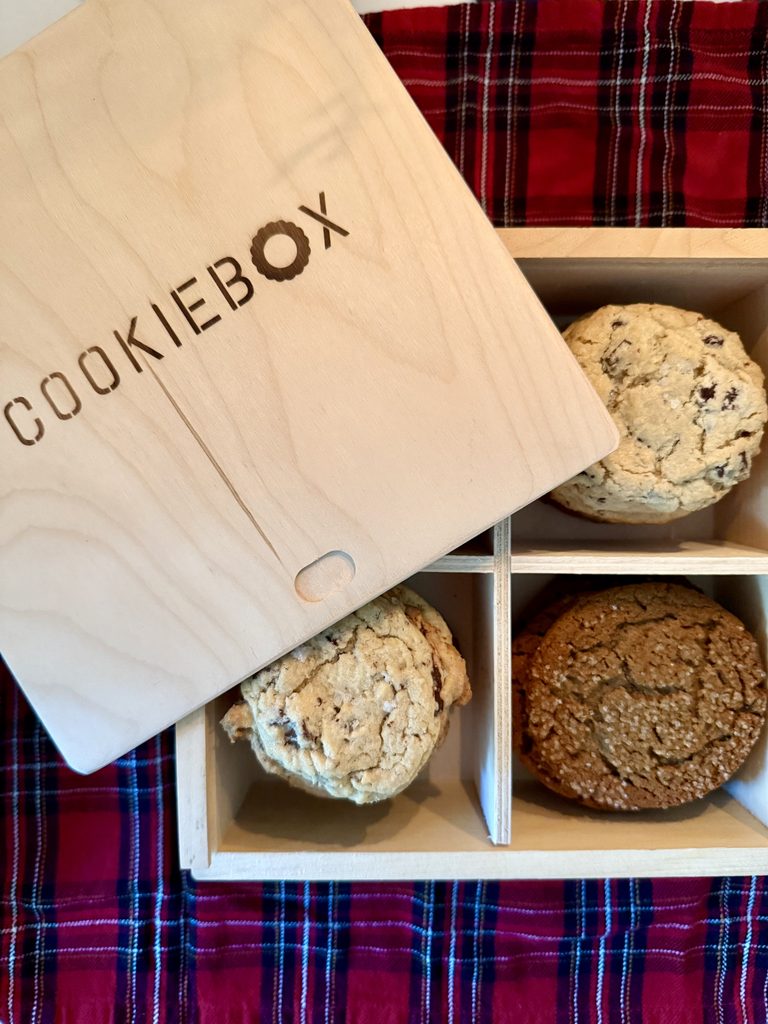
A compartment box keeps flavors from blending, so peppermint, molasses, and chocolate each taste like themselves. My wooden cookie box has four sections and a sliding lid, so it doubles as a host gift. Line each section with parchment and tuck a recipe card under the lid.
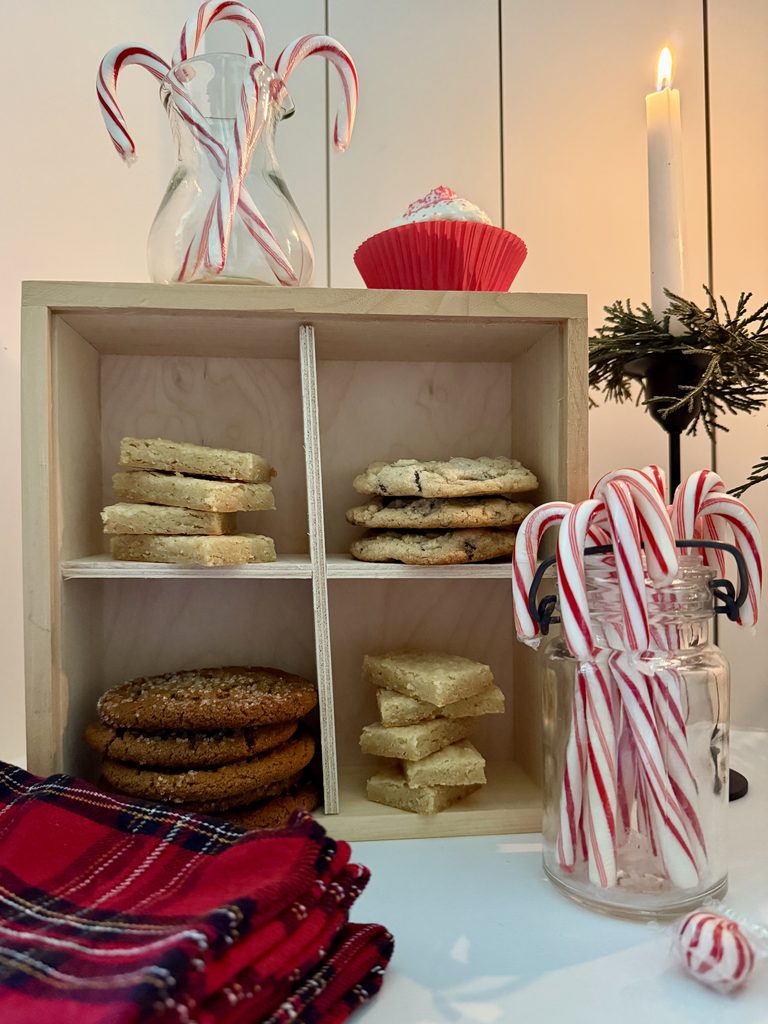
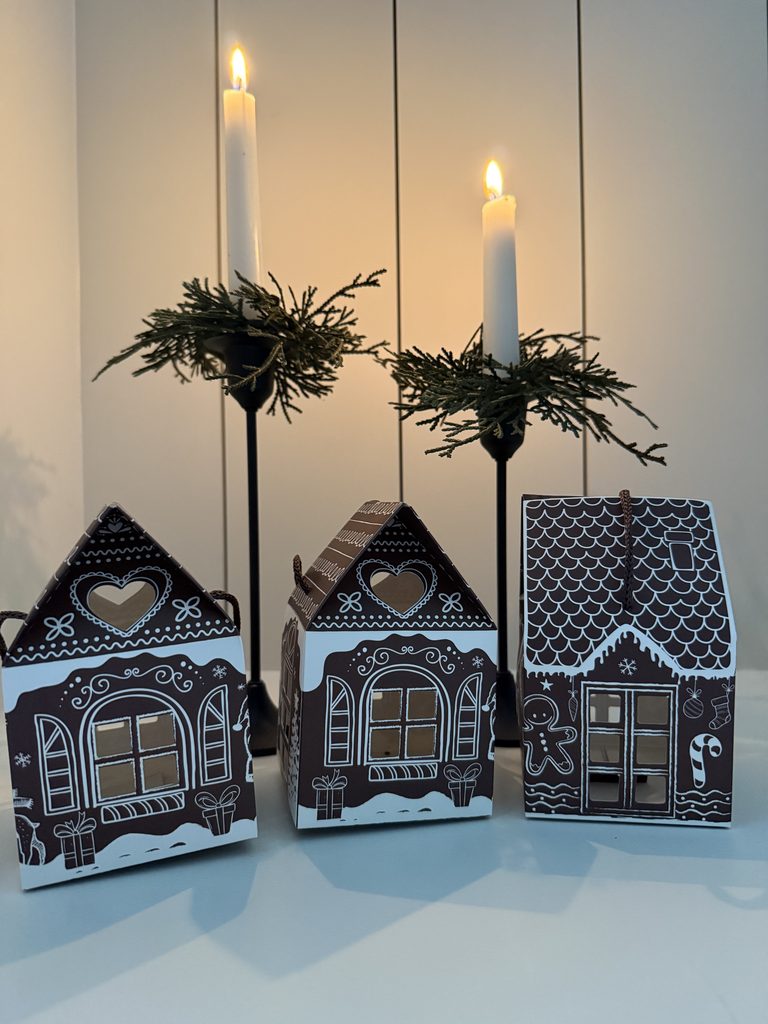
For smaller take-homes, gingerbread house treat boxes hold a few of each cookie and a handful of wrapped peppermints.
Step 4: Style the Cookie Table
With the baking done, the table is where the anticipation pays off. A cookie display doesn’t need much. It needs a plan for height, color, and light.
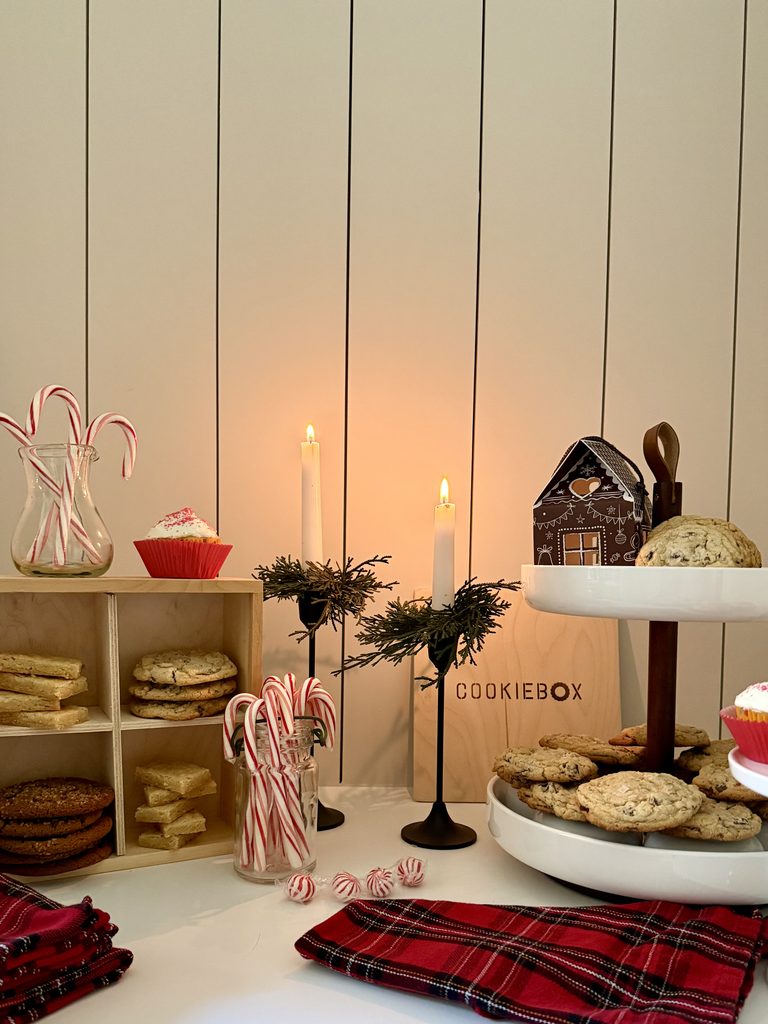
- Build height with a tiered stand, tall taper candles, and the cookie box raised on the counter.
- Keep the palette tight: red, white, wood, and a little greenery, repeated in candy canes, plaid napkins, and peppermints.
- Add warm light. Candles with mini pine rings make any table feel like an occasion.
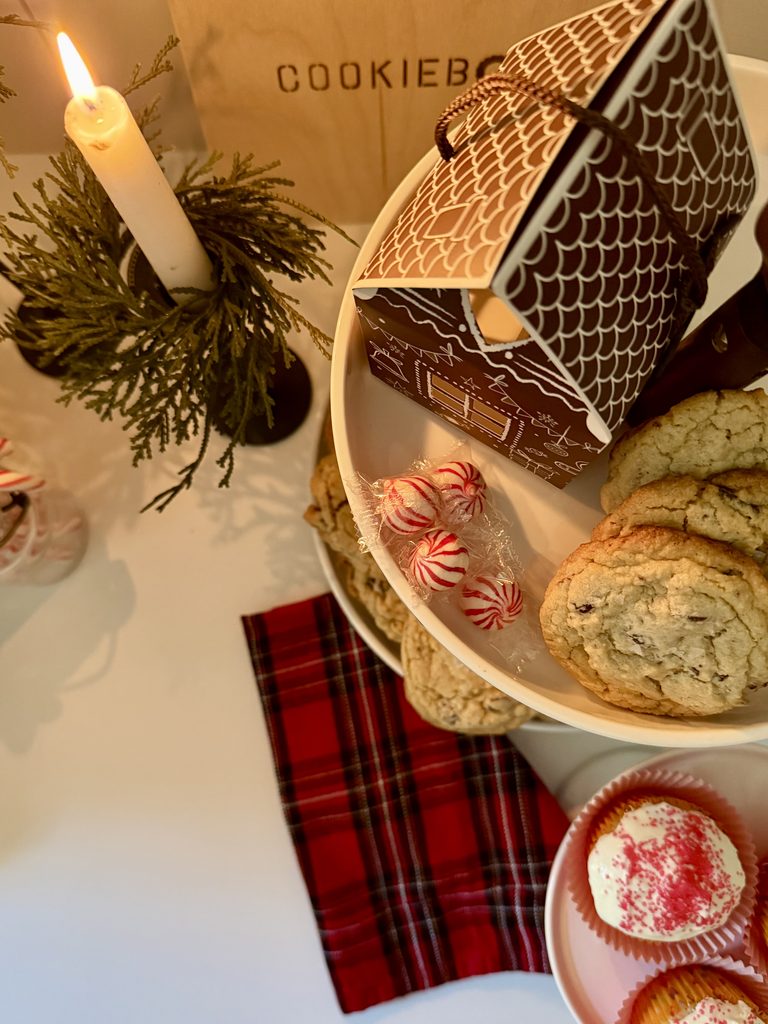
Close the evening with a handwritten thank-you card, the bookend to the invitation, included in my Christmas Cookie Exchange set. For more swap ideas, Cookie Swap! by Lauren Chattman is in my Favorites.
Shop the Cookie Exchange Table
This post contains affiliate links. If you purchase through them, I may earn a small commission at no extra cost to you.
Shop the Cookie Exchange Table
A few of my pieces I’ve had for a while and are no longer available, so I’ve linked similar options that are close to mine.
- Cookie box: Built-in dividers keep every flavor separate, and the window lid shows off the cookies inside.
- Plaid napkins: Red tartan brings warmth and texture to the table, and they’re just as pretty for Christmas dinner. (Similar to mine. I purchased mine at Pier 1, ahh, the memories!)
- Embossed rolling pin: One firm roll turns plain sugar cookie dough into a bakery-worthy pattern, no icing required.
- Kitchen twine: Tie up stacks of cookies or wrap a bow around a box for a simple, homemade finish.
- Gingerbread house cookie box: These little houses are perfect for take-home treats, children at the party, or a thank-you for anyone who couldn’t make it.
- Tiered cake stand: Three tiers add height to your display and hold the tasting cookies right where guests can reach them. Shown in the image is one I purchased from Crate & Barrel a few years ago. This one linked is very nice and versatile.
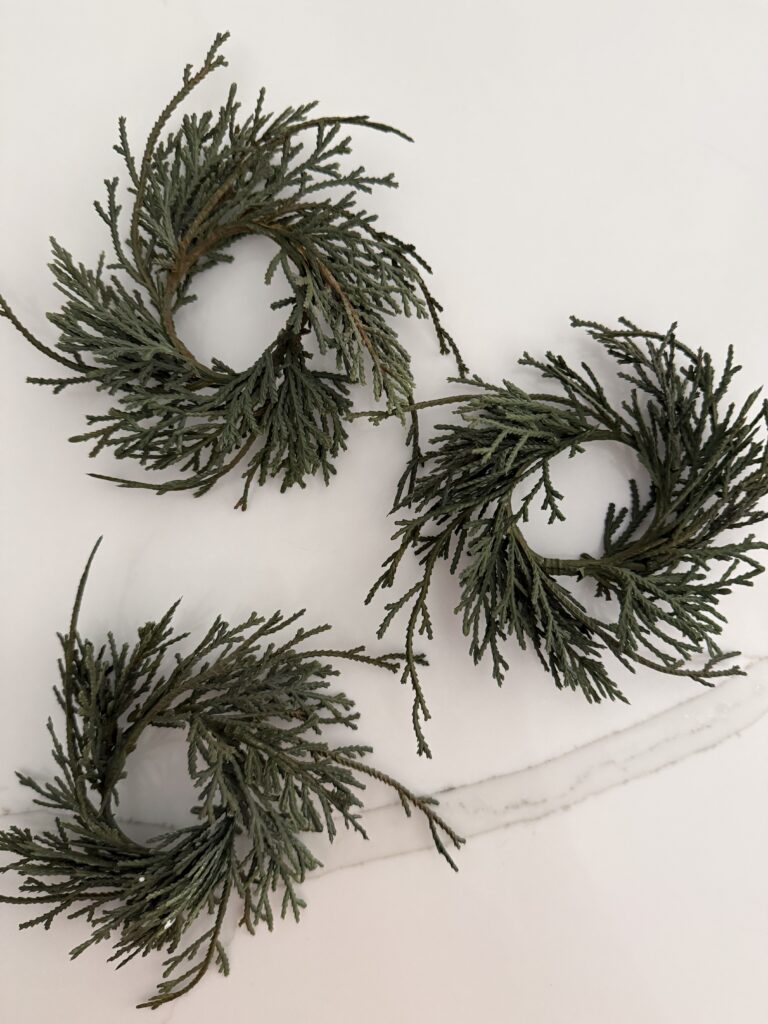
- Mini Taper Candle Wreaths: These little wreaths are the best for adding a bit of greenery. (Similar to mine, as I got mine a few years ago from Target)
One click adds everything to your Amazon cart, so you can keep what you love and remove the rest.
“A cookie exchange is a sweet way to slow down during the busiest season of the year. Gather your favorite people, fill a few boxes, and send everyone home with a little bit of the holidays.”



+ COMMENTS